Console Tape Peeling? Try A “Wrap Around”

label mixer with tape from thetapeworks.com

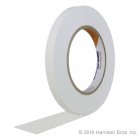
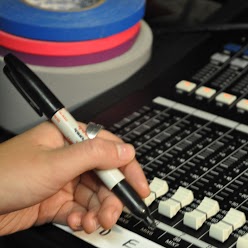
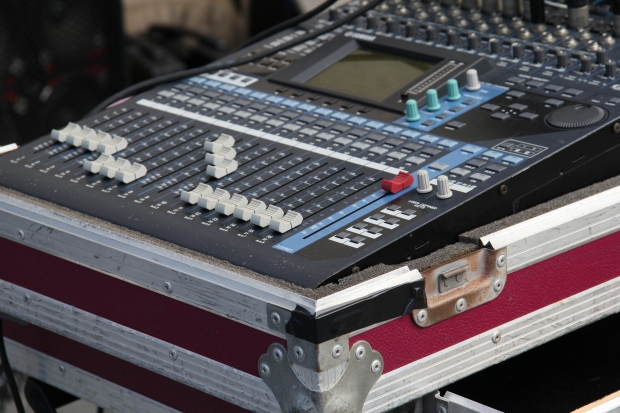
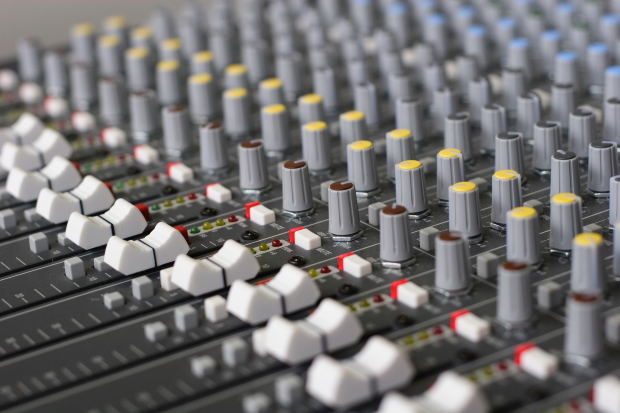
One of Shurtape 724‘s best features when used for console labeling can also be one of its worst. I am talking about the downside of low tack adhesive that makes tape easy to remove.

That easy removal can sometimes mean that the tape decides to start releasing itself from the console before you are ready to remove it. Once the edges begin to peel up, no matter how many times you re-stick it, it will never hold like it did the first time you put it on. That can be irritating.

Try this. Instead of just stretching the tape from one edge of the mixer to the other, tear a strip long enough to also wrap around the top edges of the console. this additional adhesion makes the tape stick better and can also make for a neater looking labeling job.

TheTapeworks.com
Voice 866-386-8335
Fax 800-327-6651
Email sales@harrisonbros.com

Harrison Bros. Inc.
47 North Chatham Pkwy.
Chapel Hill, NC 27517

Labeling A Console? Don’t Forget “The Vertical”

People who create temporary labels for sound consoles focus, rightly so, on “the horizontal”. By that, I mean that the primary purpose of the label is to indicate what microphone is represented by each input on the mixing desk. Normally the labels go directly under the mix fader and include information like “vocal”, “bass”, “kick drum”, etc.

Since most mixers are a long row of identical control strips, the labels make sure that the tech doing the mixing is moving the correct fader to make the changes they want.

The use of half-inch wide console tape allows you to expand this labeling to mark additional information about every control knob for each individual console input. Using tape that will fit between the fader strips means that you can also make notes and marks about equalization, aux sends, monitor mixes etc. It dramatically improves your ability to retain detailed information when you have dialed in a mix that you need to recreate later.

Add a roll of half-inch label tape and a fine point Sharpie to your tool kit if you regularly find yourself sharing a console with other acts. It’s essential during festival season.

Buying Console Tape? Check Your Space First

Sometimes when customer order console tape on the phone and we ask them what size they want, they say “just send me the usual”.

There is no “usual” when it comes to the space available for labeling a mixer and if you get a size that is too large, you’ll have excess tape
where you don’t need it. If you get tape that is narrower than your console will accommodate, you are more likely to “overwrite the tape” and get ink directly on your mixer. Since it probably will not dry quickly on a screened metal surface, it will end up on your hands.

In order to make sure you get the correct size, you need a little info about how tape is actually sized.

In an odd combination of standards, most tape is measured by standard (yards, feet, etc.) in length (e.g. 55 yards long) but is measured in metric when considering the width.

Here is the actual conversion:

If the tape is described as being one inch wide, it is actually 24 millimeters wide (closer to 15/16 inch than to one inch).

If the tape is described as being three quraters inch wide, it is actually 18 millimeters wide.

ConsideringMagnetic Mixer Labels? Check This First

horse shoe magnetInstead of using console tape for creating mixer labels, some sound people prefer using magetic labels, one per input channel.

These are expensive, but, over time, may be a good value, since they can be used over and over again.

Before considering this purchase, make sure that the mixer(s) you intend to use them on actually have metal faces.  More and more electronic equipment is being built from plastic, aluminum or composite materials.  Once it has the channel information screened on to it, it may look like metal, but the magnetic labels will not stick.

Multiple Sets? You Can “Stack” This Console Tape

The “repositionable” adhesive on Shurtape 724 is primarily prized because it can be removed from a mixing console without leaving any residue. Just like it comes off the console, it will also come off of itself.

That means that you can create labels for multiple acts or sets and lay them right on top of each other.

Since multiple act bills usually sound check in reverse order (first act sound checks last) you can place each acts label on top of the one prior to it.

Once that act has finished performing, you can just peel away their label and the console is ready to go for the next act.

Shurtape 724 Features “pH Neutral” Adhesive

plus_minusBy using an adhesive formula that is “pH neutral”, Shurtape 724 insures that it neither acidic nor alkaline.  Use of a neutral adhesive insures that the surfaces of expensive electronic equipment will not be damaged when the tape is applied.

The most well known pH neutral solution is pure, distilled water.


Sound Man’s Secret Revealed

Shure microphone from thetapeworks.comThe sound guy has a secret weapon in his tool box that every person who does “hands on” production work needs to know about.

The tape he uses to label the sound mixer, console tape,  has hundreds of other uses around the stage or set.

Because this tape can be written on with a Sharpie Marker with no worries about bleed through, it is the ideal product for generating temporary labels for almost anything that needs to be marked.  Dressing room doors,  steps, lockers-they can all be given highly visible temporary labels using Shurtape 724.

Hazards in the dark like the edges of a stage or the location of the top of a temporary stairway or ramp can be made more visible in poorly lighted areas.

Use it to post schedules and set lists to the wall without worry of paint damage or adhesive residue when the are removed.

Shurtape 724 paper label tape has a place in every work box or gear bag.